How to create Excel Chart from C#
In C#, it is possible to dynamically generate charts in Excel by using the capabilities of the Microsoft Excel 12.0 Object Library. The forthcoming section will provide a comprehensive demonstration of how to create a chart in Excel using C# source code.
The C# source code snippet presented below relies on the Microsoft Excel 12.0 Object Library, which we imported in the previous section of this guide, ensuring seamless integration within our C# project. By implementing this code, we can utilizes the power of Excel's charting features to create visually appealing and data-driven charts directly from our C# application.
Before creating a chart in Excel, it is necessary to populate the Excel sheet with data. In the following section, we will demonstrate how to accomplish this by programmatically filling the Excel sheet using a C# program. Once the data is successfully filled in the Excel sheet, it will resemble the visual representation depicted in the accompanying picture.

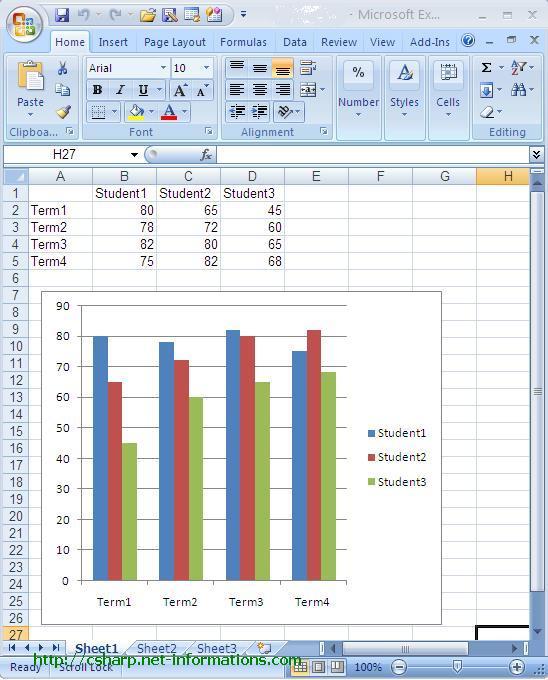
Once the data has been populated in the Excel sheet, the subsequent step involves creating a chart object in C# and customizing it with essential information such as positions, size, data range, chart type, and more. This can be accomplished by utilizing the Excel Interop library and the Microsoft Excel 12.0 Object Library within your C# project. By following the provided example, you can effectively generate a chart object and seamlessly tailor its properties to meet your specific requirements, enabling the visual representation of the data to be accurately presented in the desired manner.
The following picture shows the excel file after created a chart.
 Full Source C#
- How to create Excel file in C#
- How to open an Excel file in C#
- How to read an Excel file using C#
- How to programmatically Add New Worksheets
- How to delete worksheet from an excel file
- How to format an Excel file using C#
- How to insert a picture in excel from C# App
- How to insert a background picture in excel
- How to export excel chart from C#
- How to excel chart in C# picturebox
- C# data validation input box in excel file
- Read and Import Excel File into DataSet or DataTable
- How to insert data to Excel file using OLEDB
- How to update data in Excel file using OLEDB
- How to export databse to excel file
- How to export DataGridView to excel file